Preparation Lab
Go up? CLICK HERE
Or return to main page? CLICK HERE

First step is preparing your environment on IBM Cloud. Check the following instructions.
Task 1. IBM Cloud registration
All labs are executed on the IBM Cloud, and prerequisites are:
-
1 valid email
-
account on IBM Cloud
If you already have an IBM id, go to Task 2 of this script.
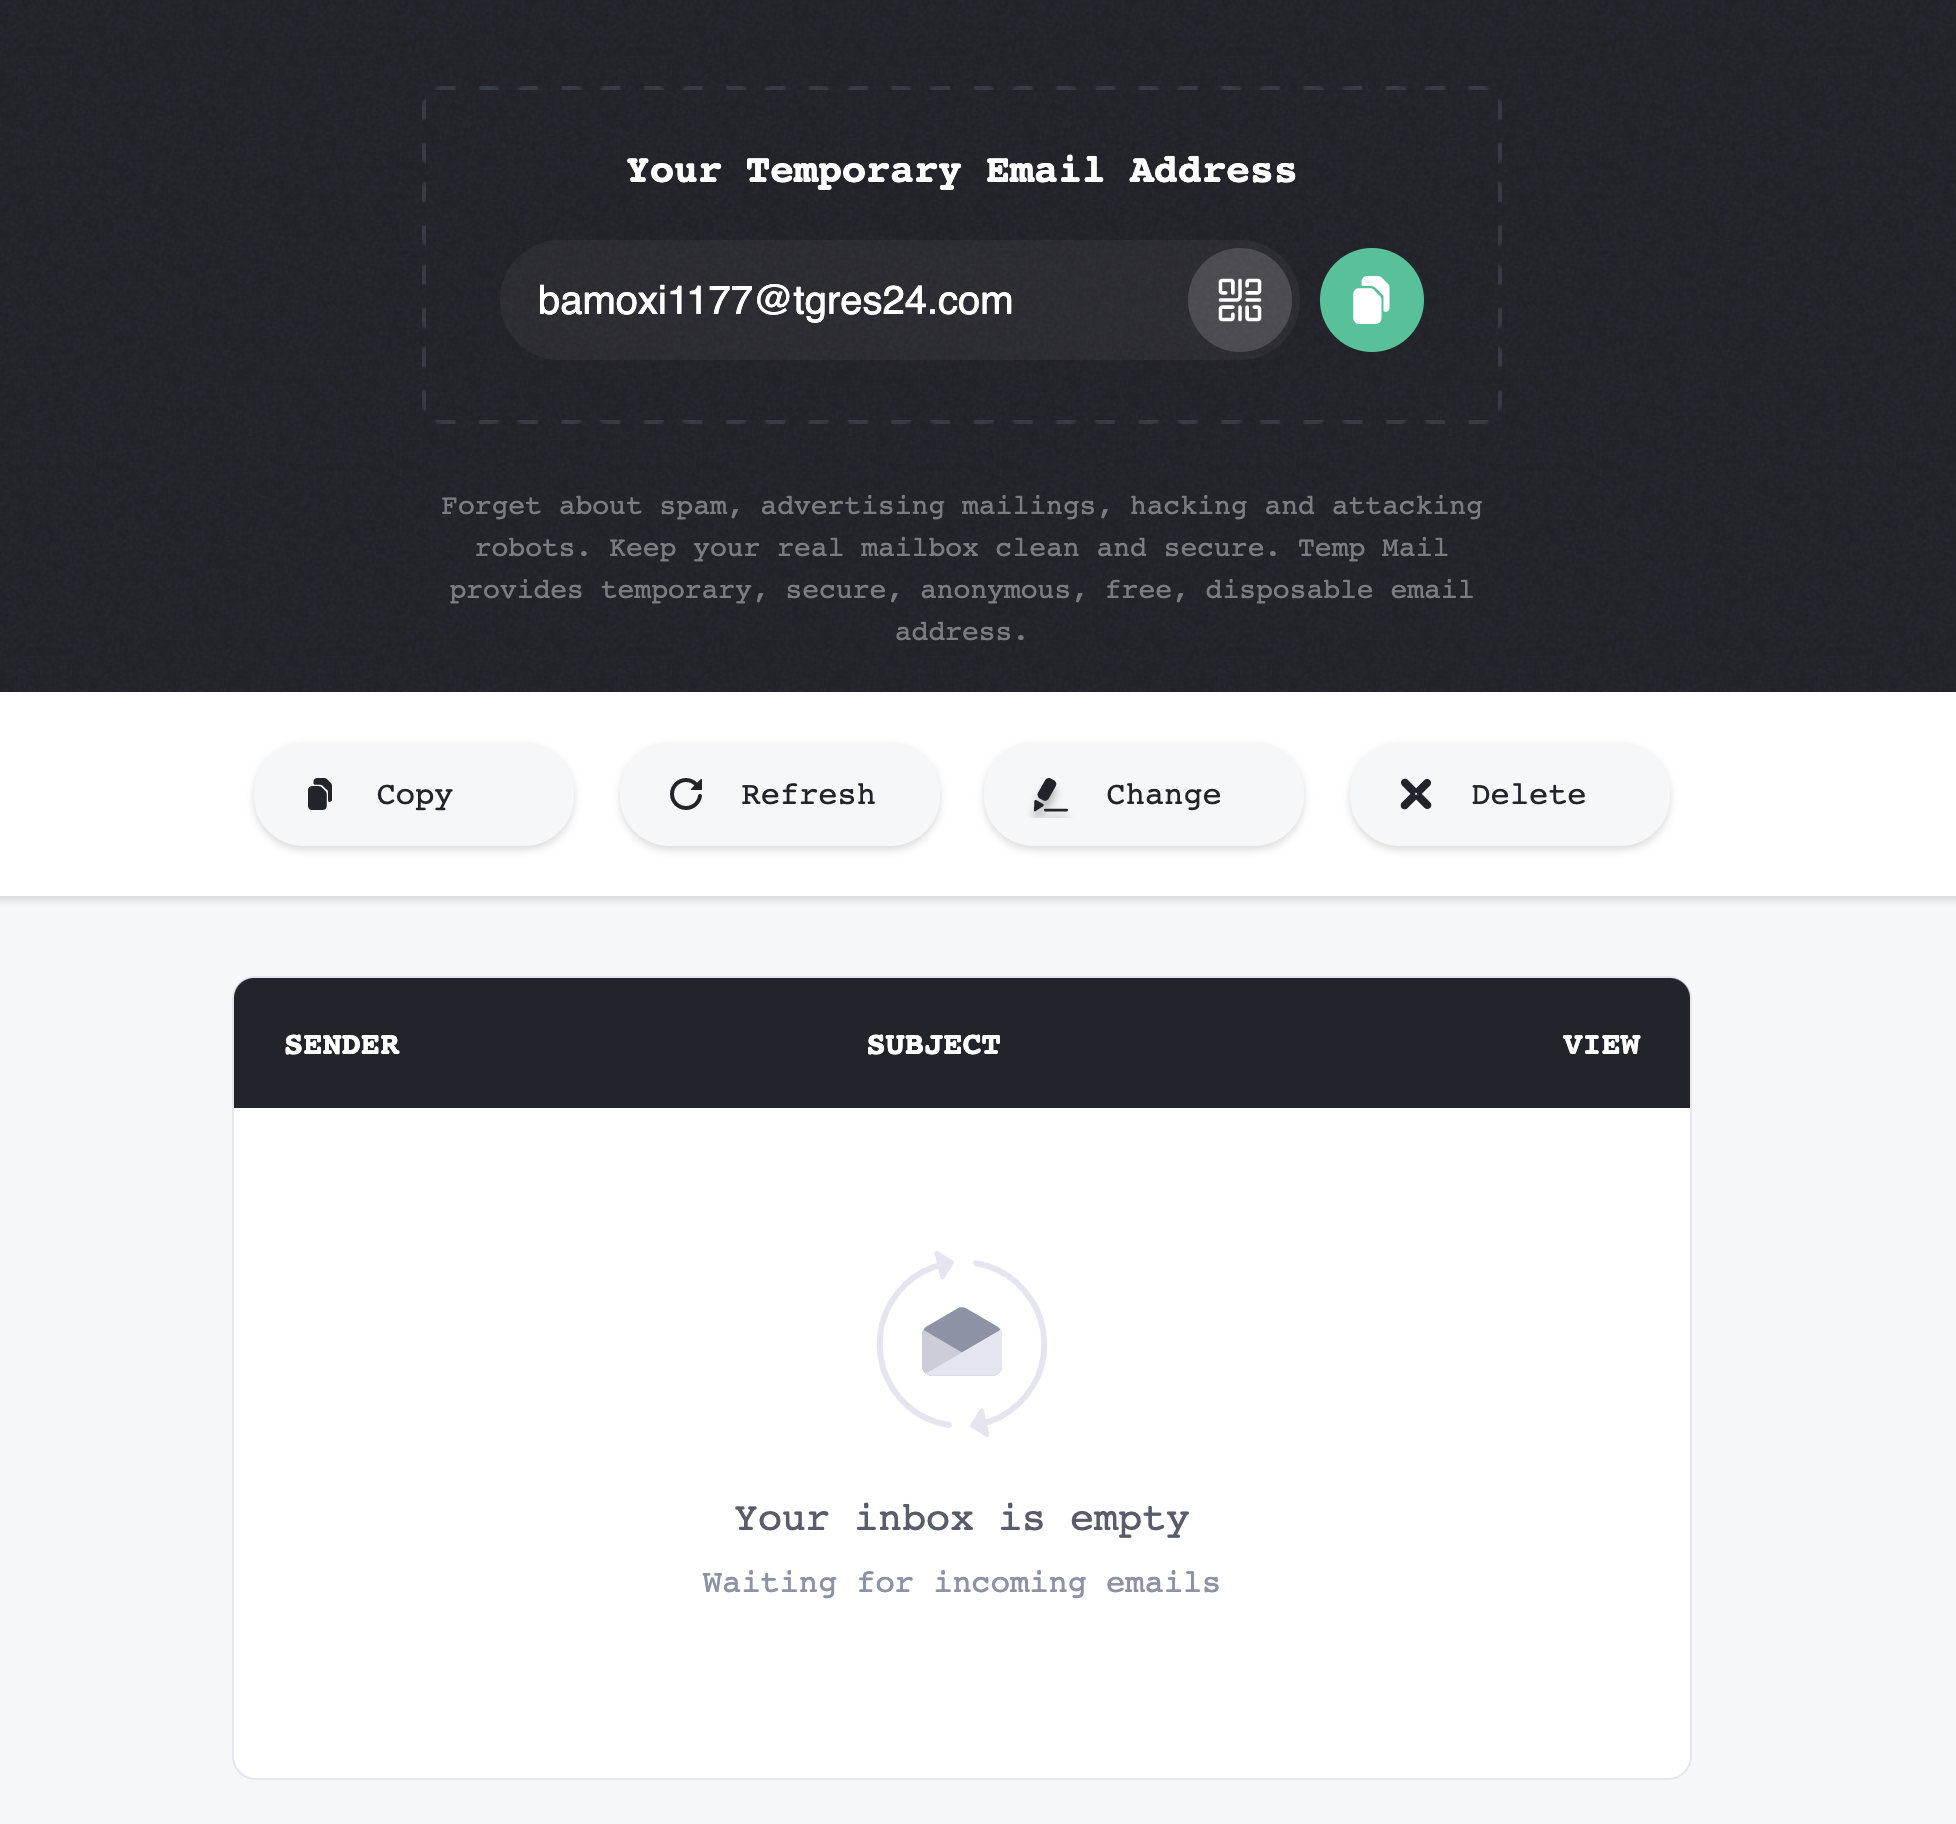
If you don’t have an email address to use in lab get a temporary email service like this one: https://temp-mail.org/en/
Start registration
Open this link: IBM Cloud or type: http://cloud.ibm.com/registration in the browser (Chrome or Firefox are recommended). You will get to the following page.
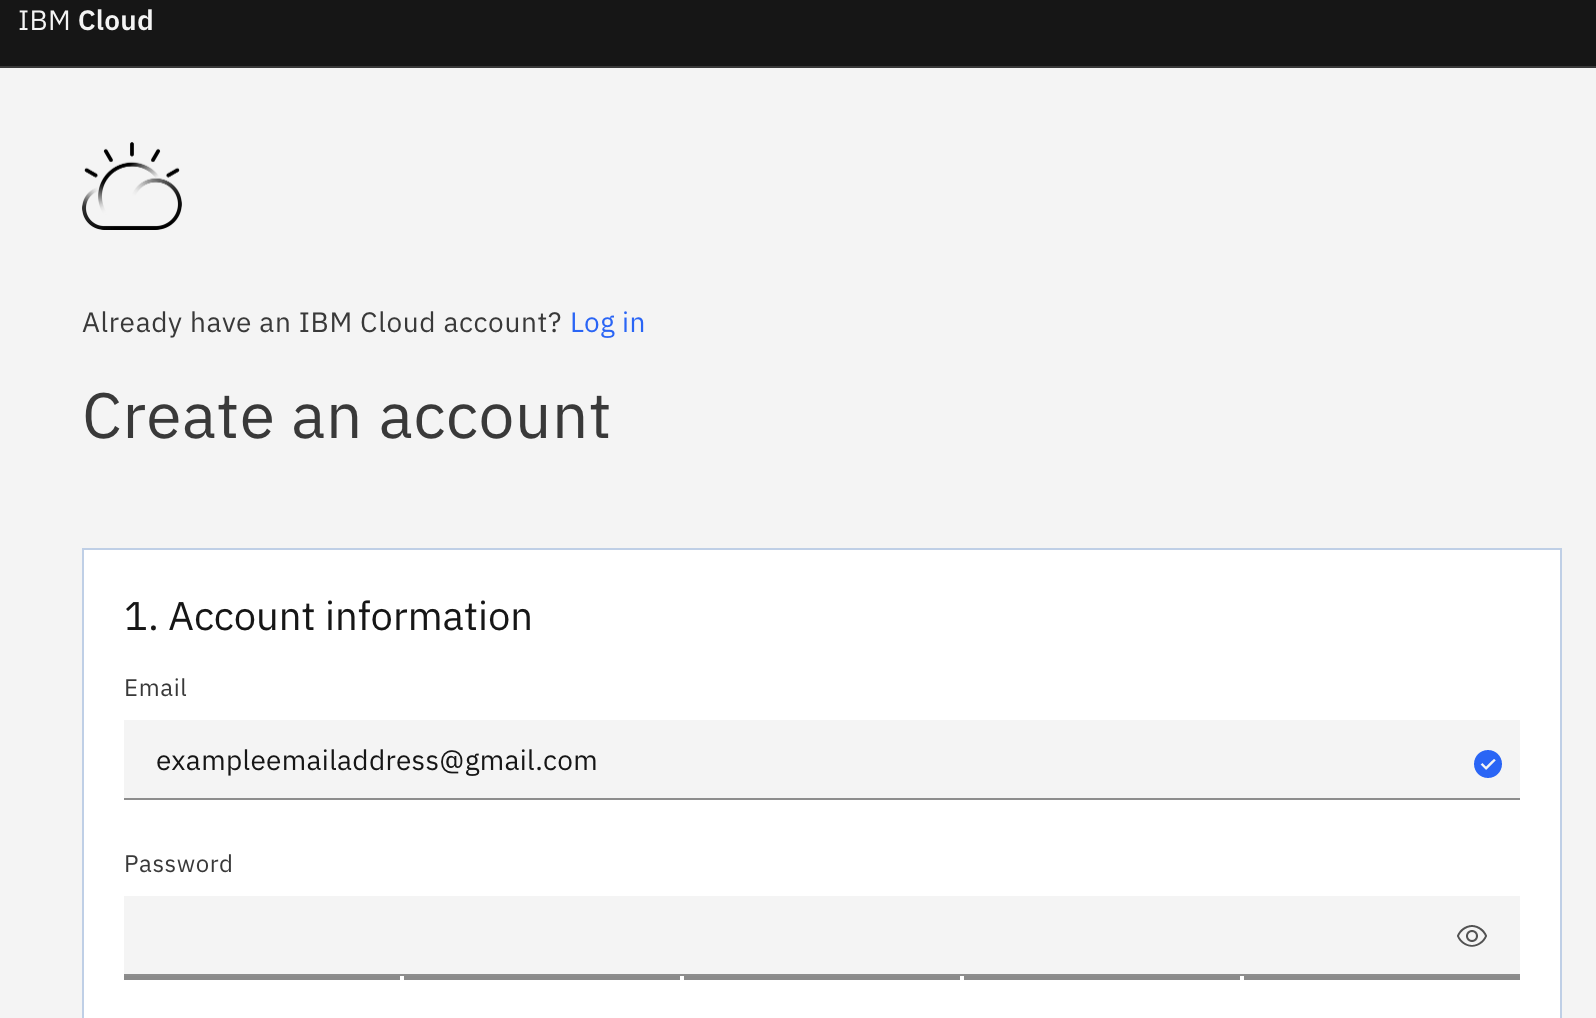
Fill in the form
Specify email and password.
IMPORTANT : Take a note of your email address and your password.

Click ‘Next’ button. The verification code is generated and sent to your inbox.
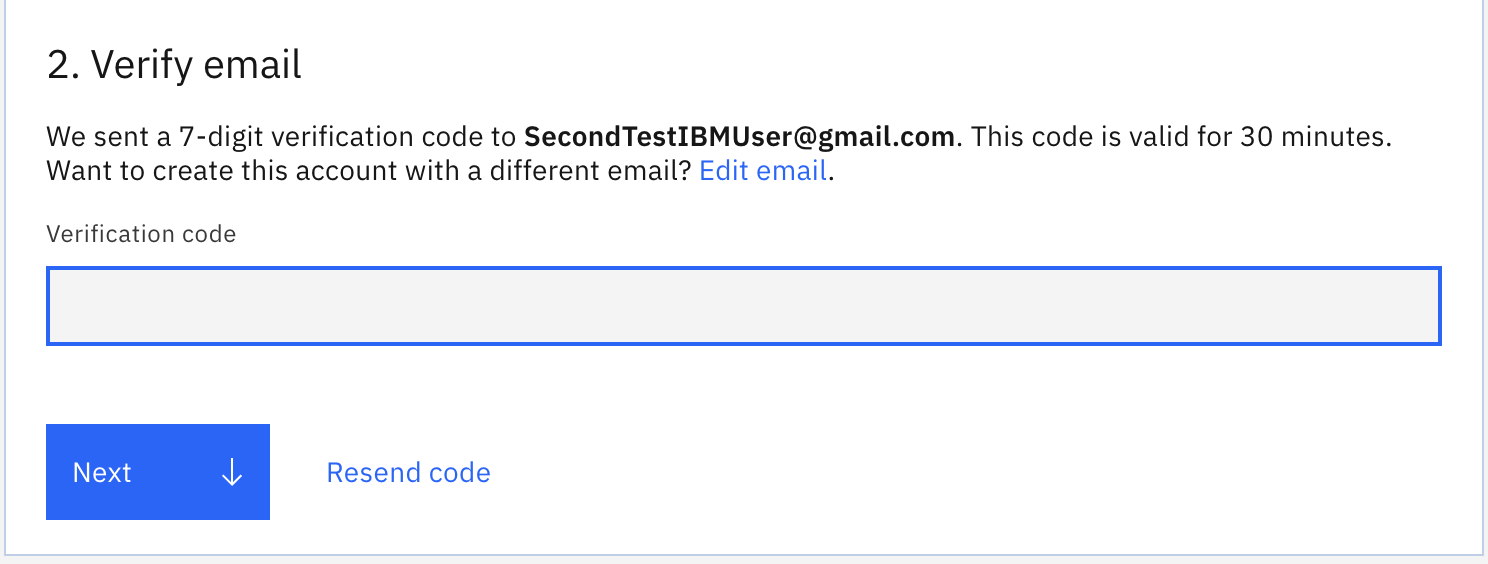
Check your email inbox to get the verification code, use it in the field shown above. Click ‘Next’.
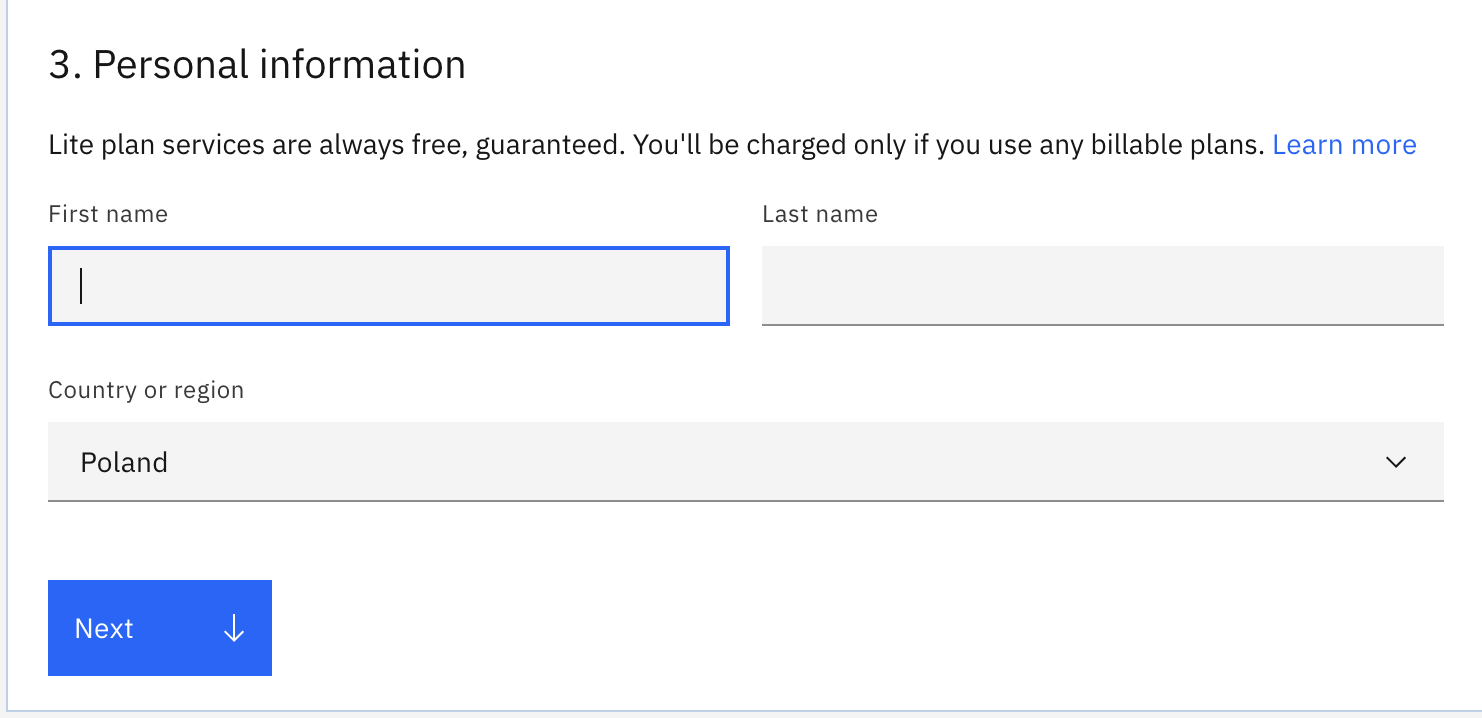
Enter your name, second name and country. Click ‘Next’.
Your Lite Account has no time restriction. This is not a 30 day trial account. You are about to build things that will last for years ;)
Click on Create Account button.

Then if everything is fine, you will get on data agreement page. After reading the agreemnent click ‘Proceed’ button on the bottom of the page.
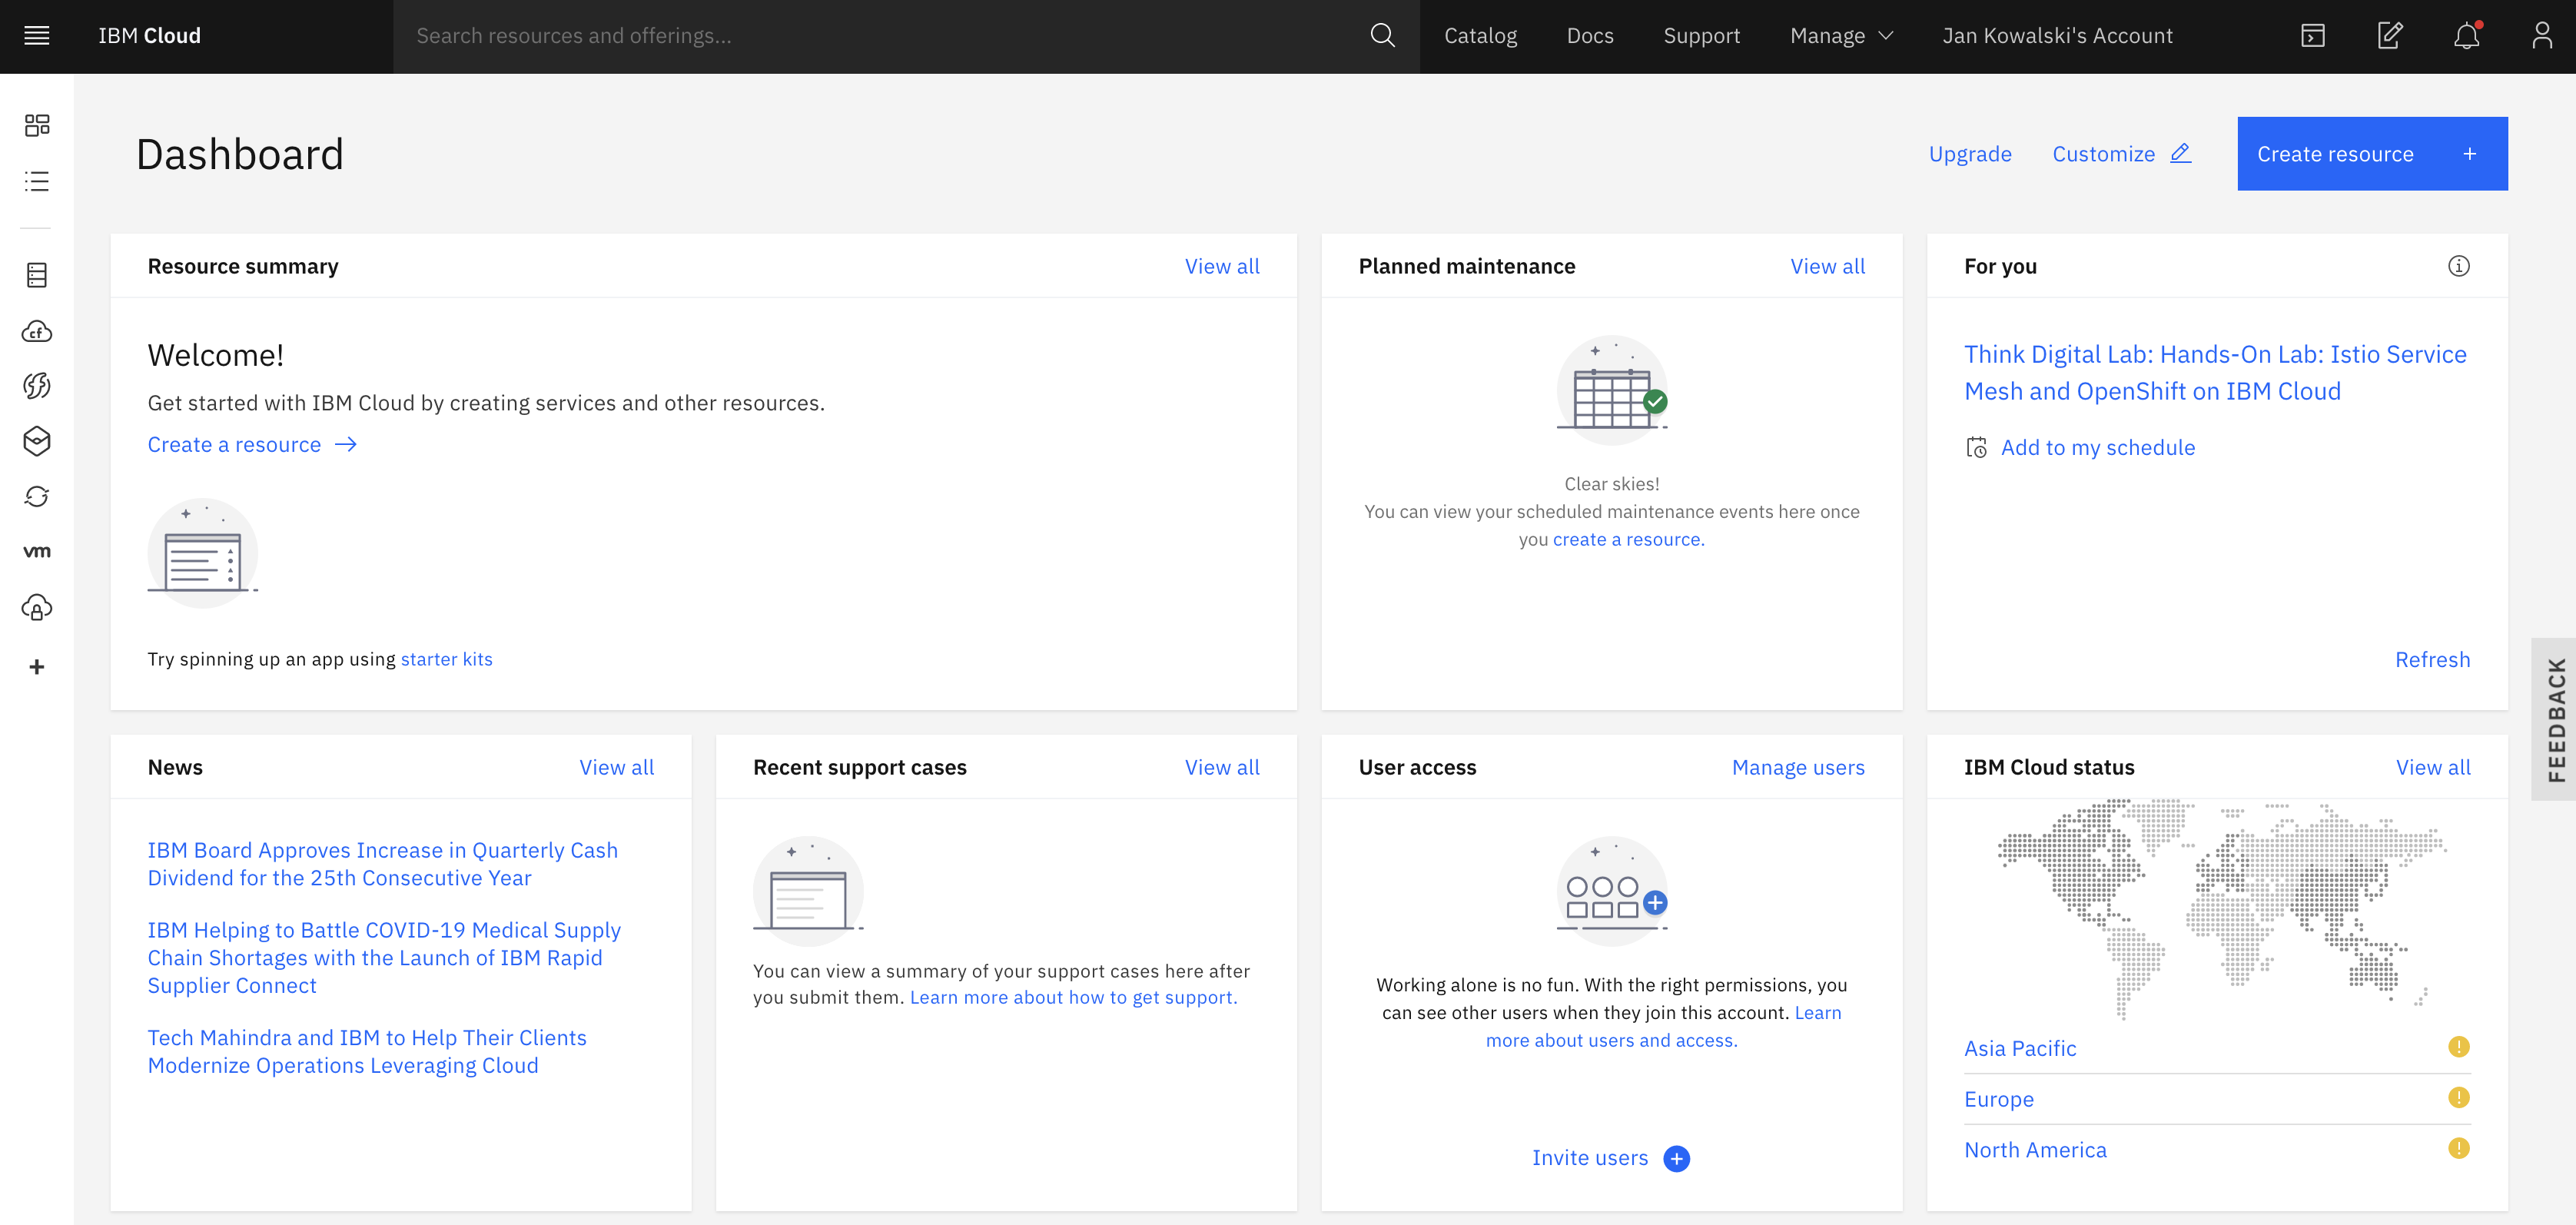
Finally you should get a dashboard screen on your cloud account as shown above. First click Catalog button - those are all services available on IBM Cloud.
IMPORTANT : Have you written down your email and password? Last chance to do it.
Task 2. Create Watson Studio Instance
Write “Watson Studio” in the dashbaoard search pane. You should see scroll down with a Watson Studio service (the one with a lamp icon).
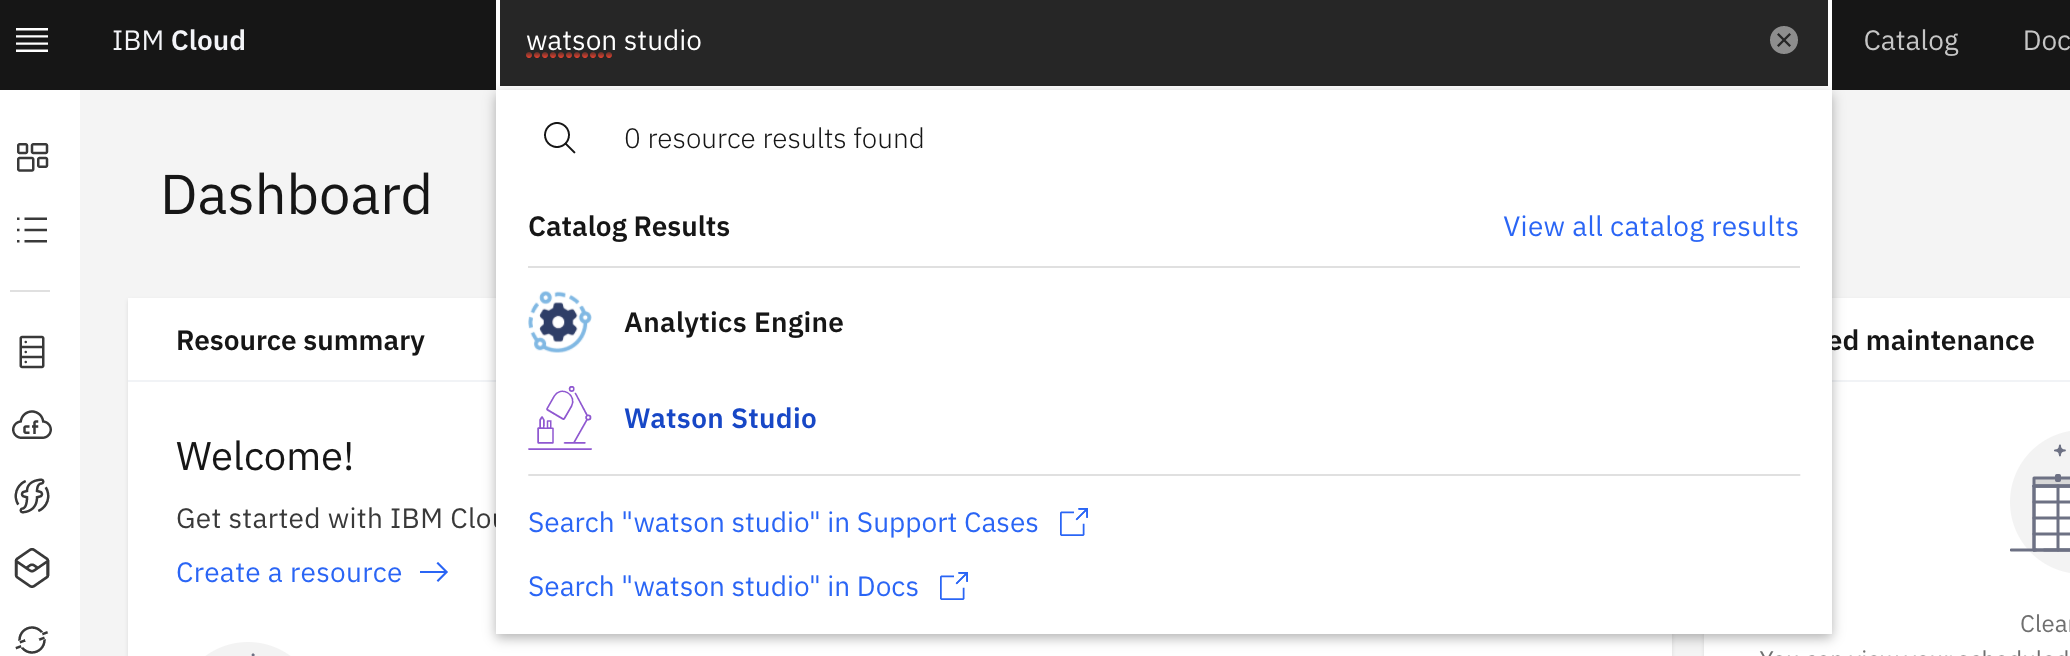
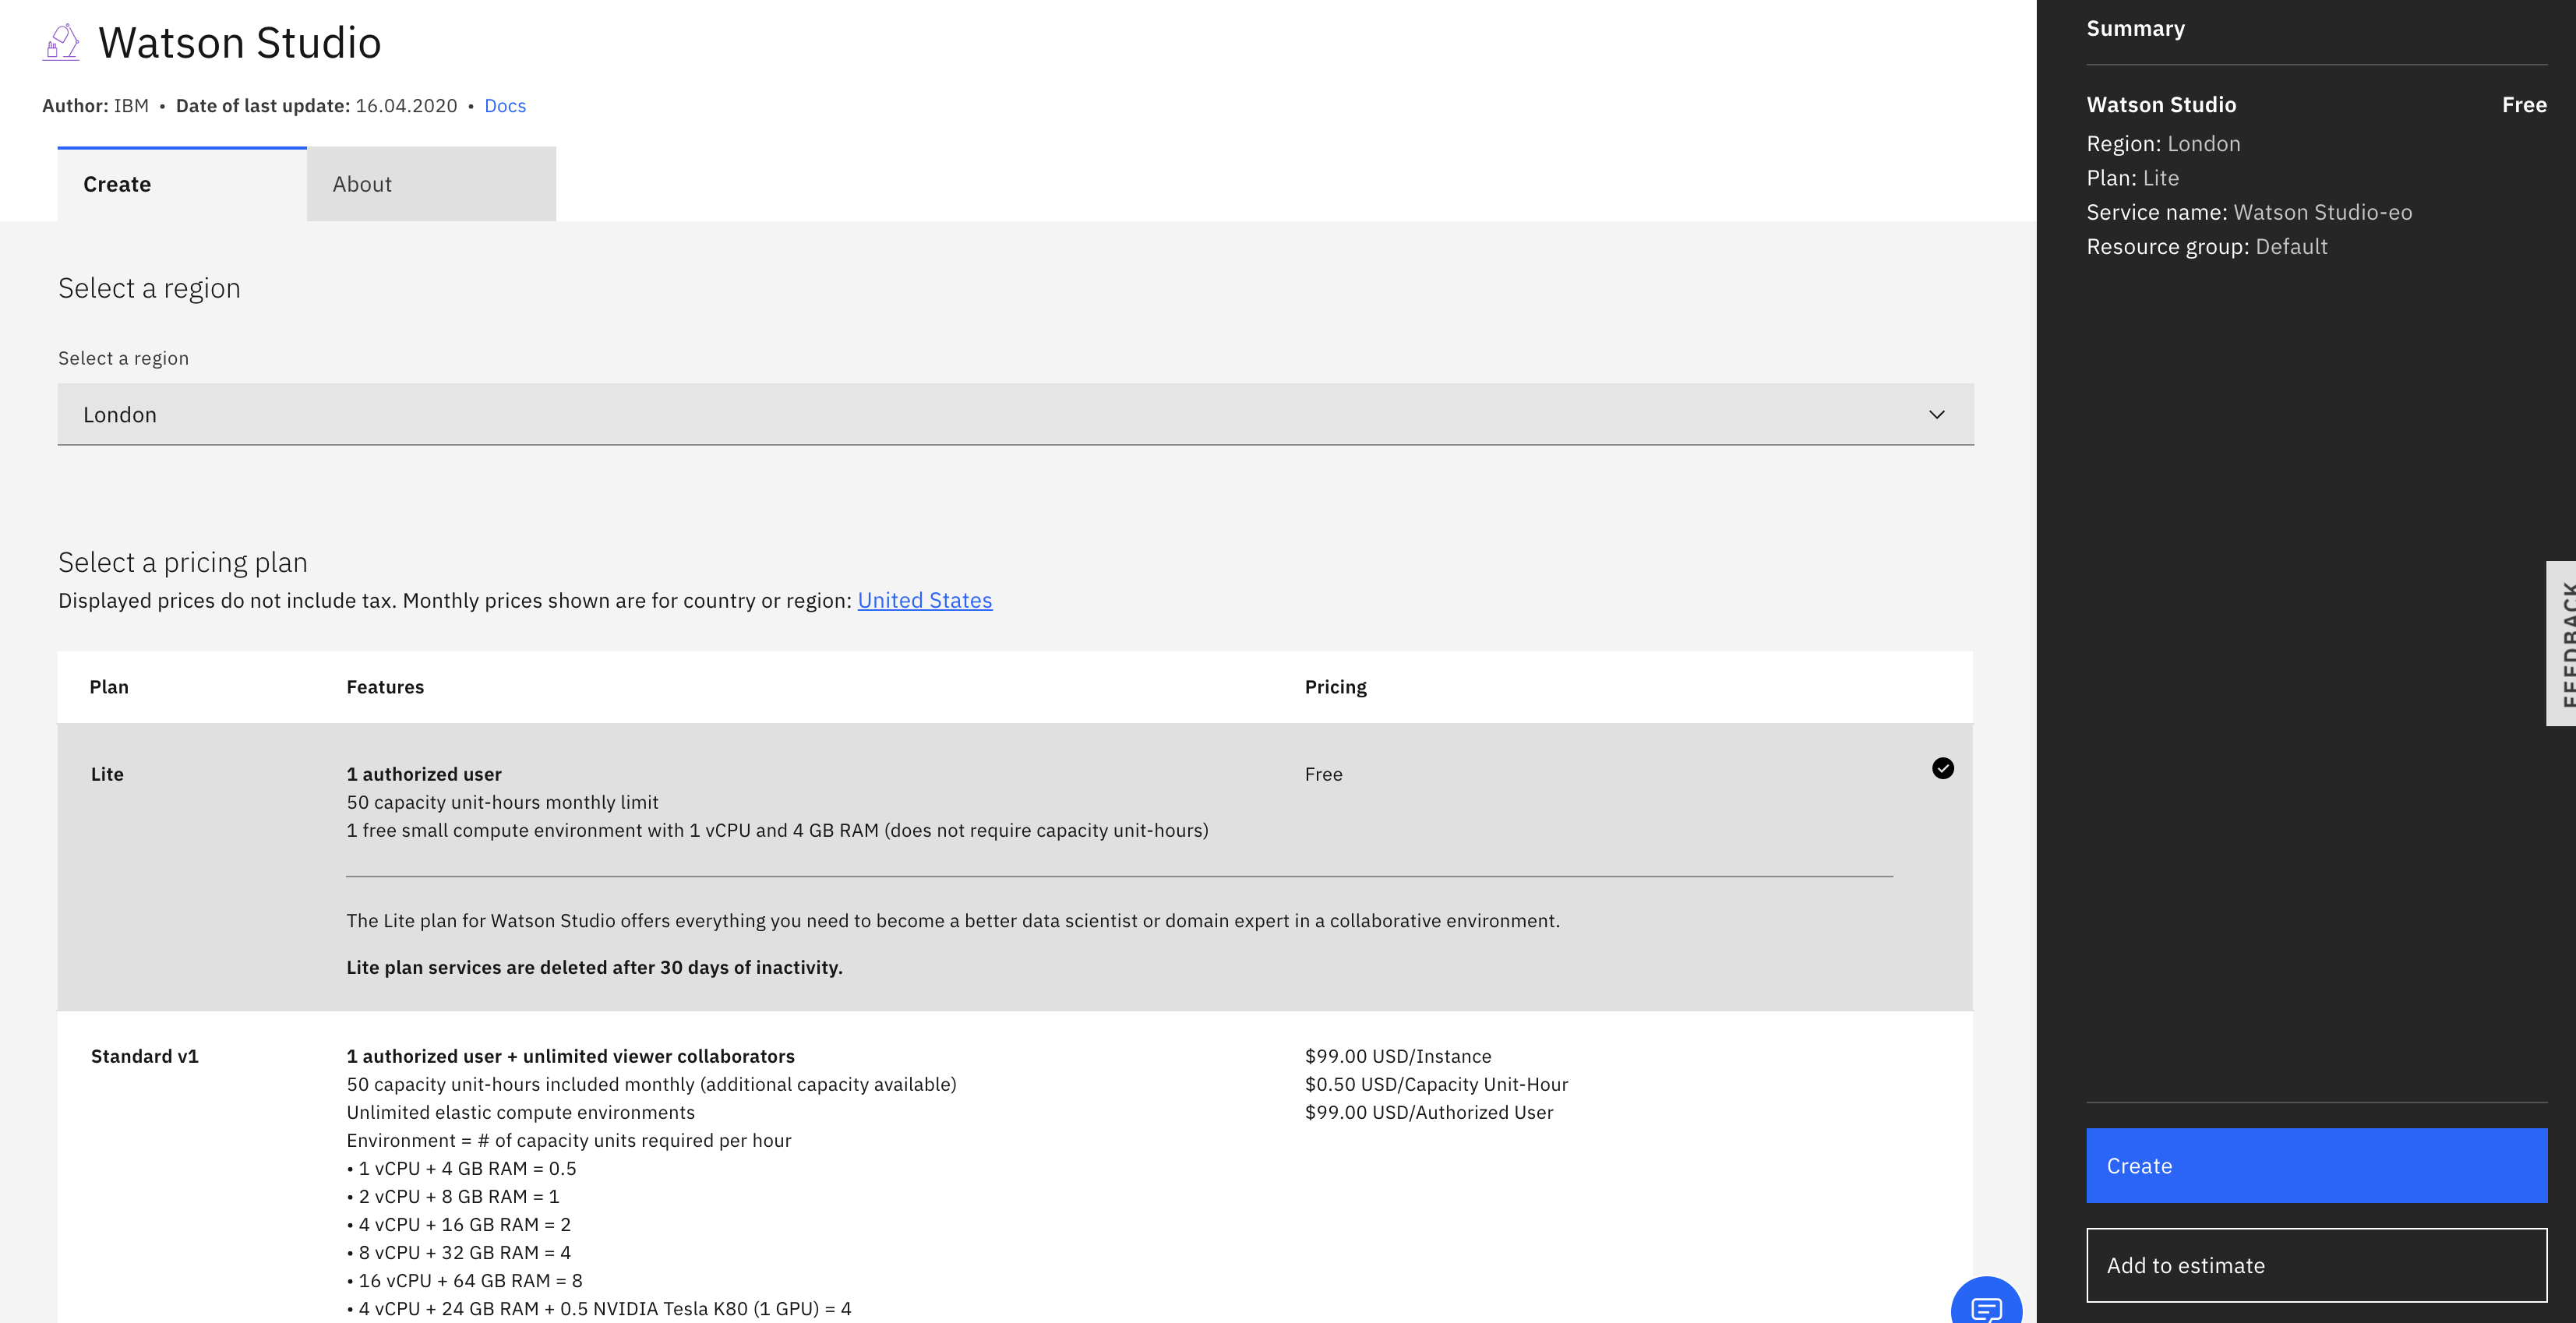
Click on the Watson Studio Service. You should get to the screen with payment plans (below). This service is for starting one or many instances of Watson Studio.
Note that your instance will be created in one of IBM Cloud regions. You can choose a region (which means data center for your app or data) that is close to you and is located within the boundaries of Europen Union. In that case no data will leave EU.
Ensure that the Lite Plan is chosen and click Create button on the right bottom corner of the screen.
Welcome to Watson Studio :)

Take a moment to look around, maybe take a tour or scan documentation.
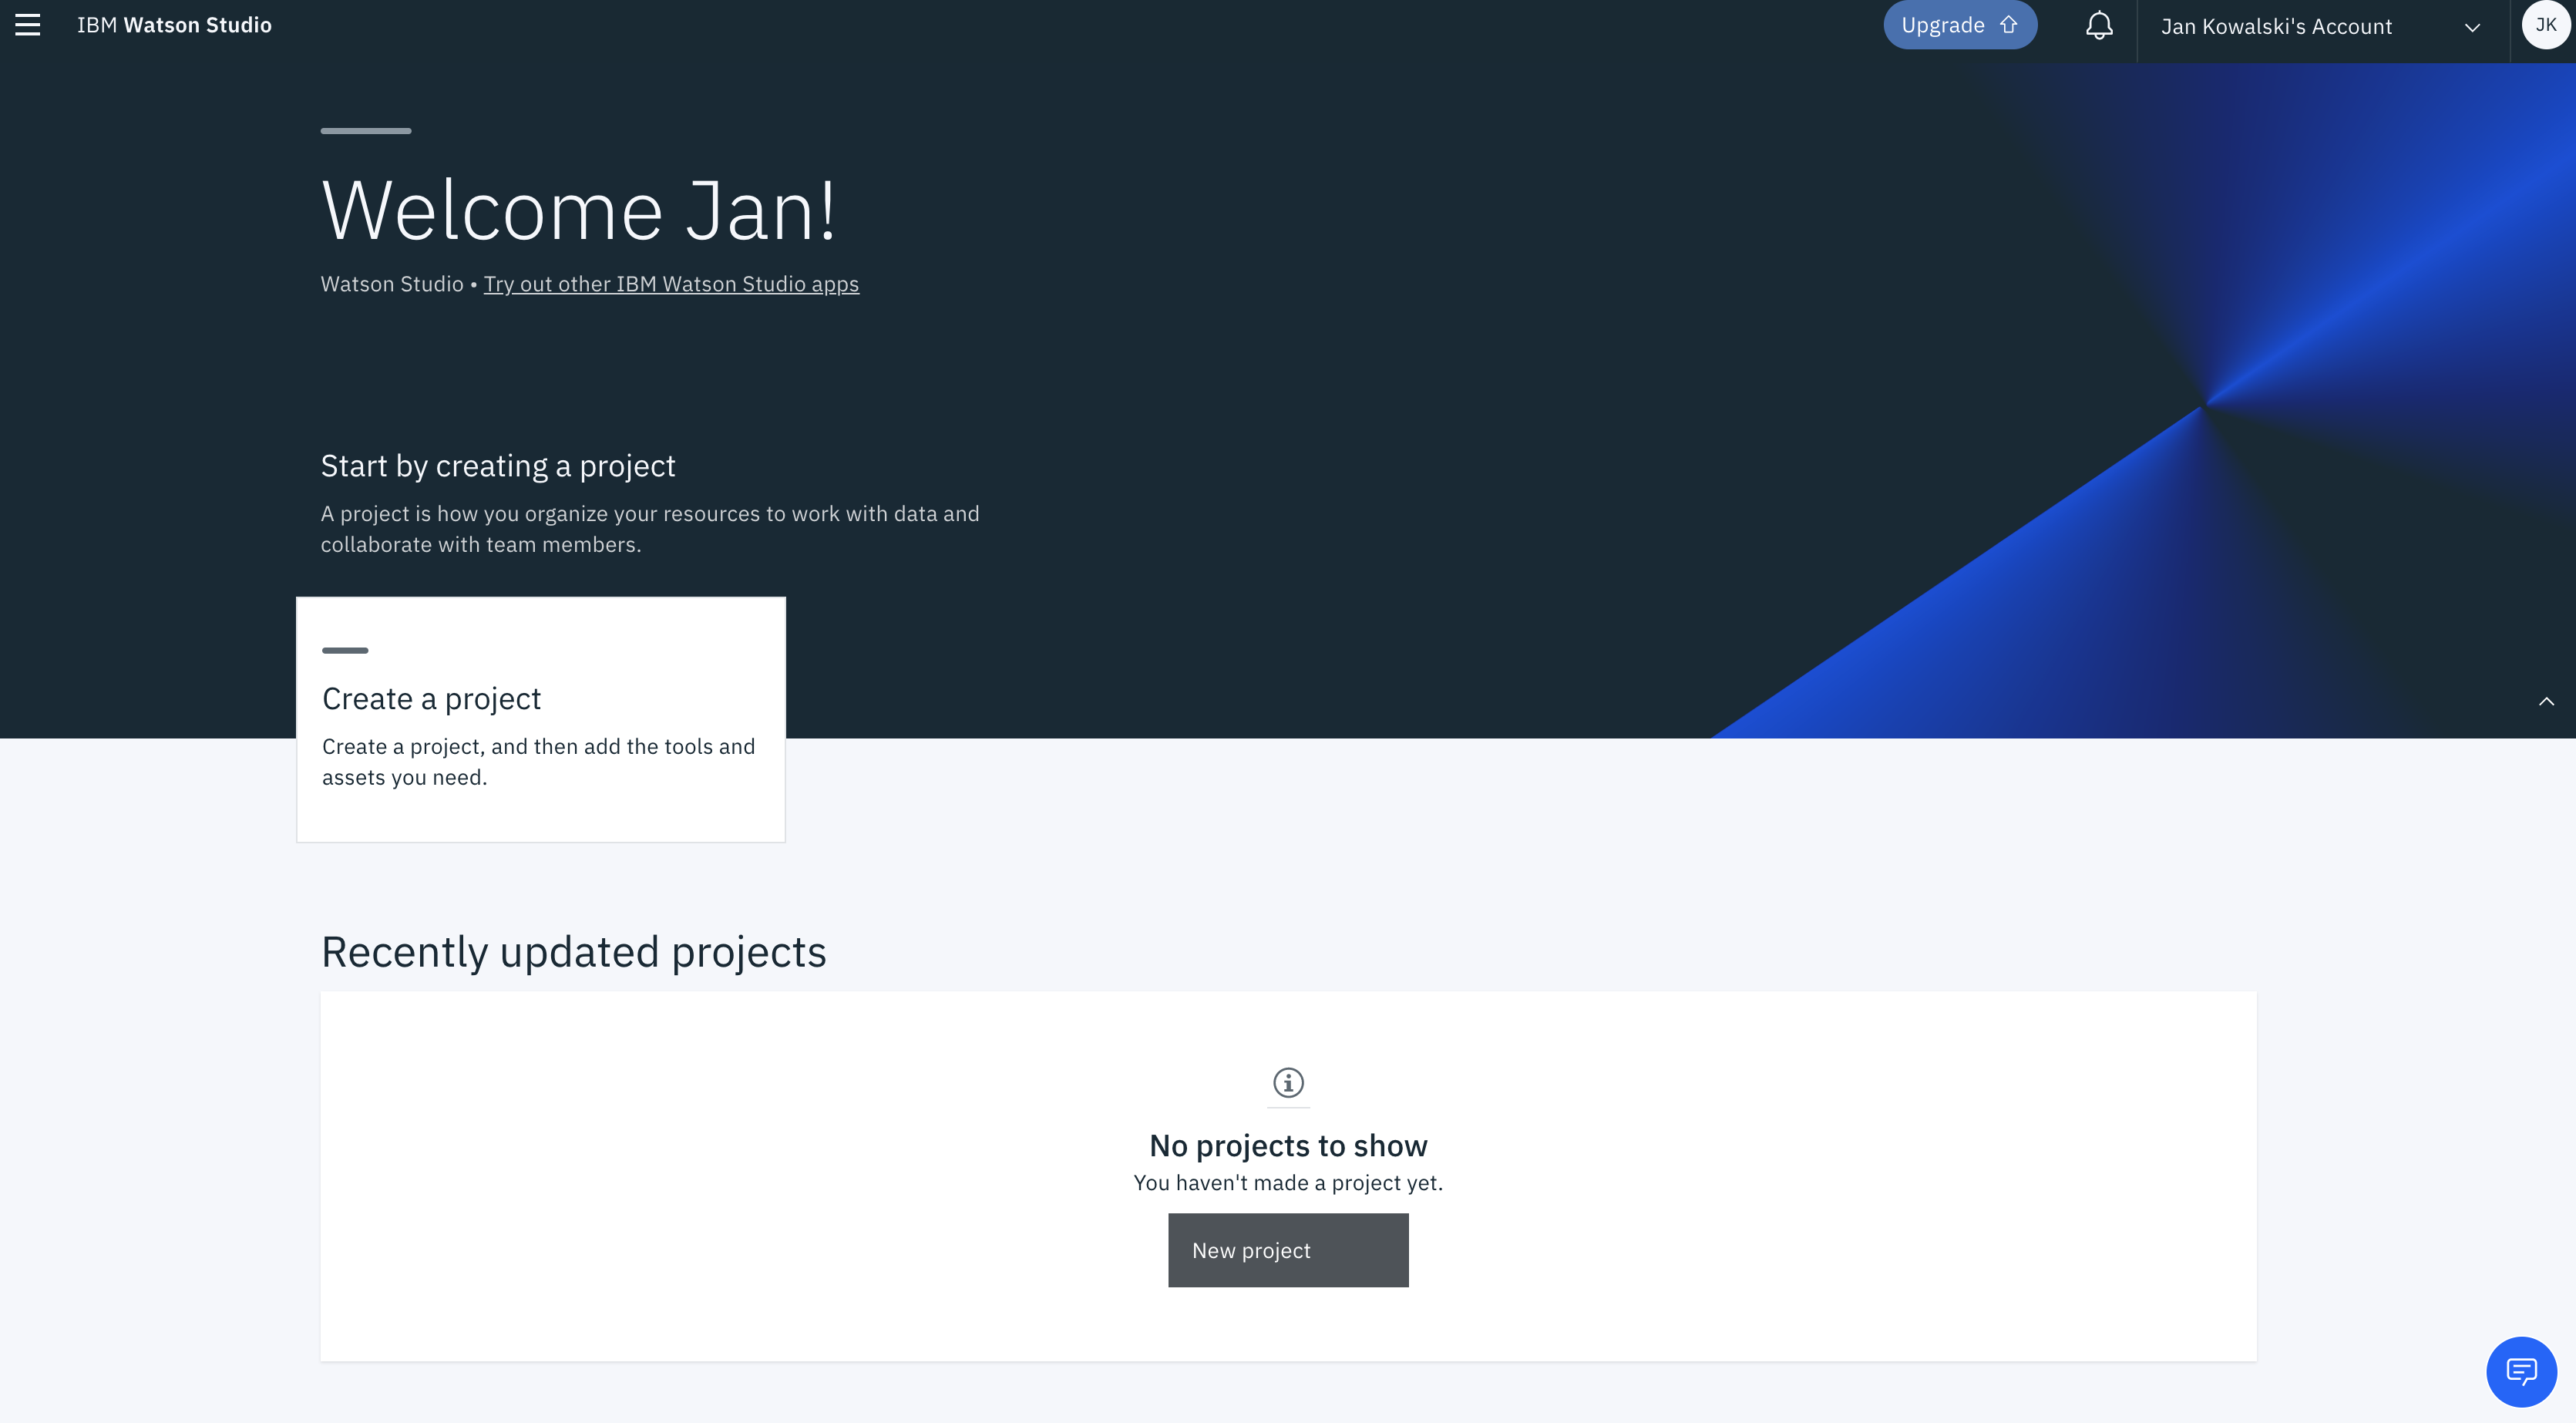
Now you can click ‘Get Started’ button.
There maybe additional message saying that Watson Studio is ready, confirm by clicking ‘Get Started’ on button in the message box.
You will see a welcoming screen with of Watson Studio application.
Congrats :)